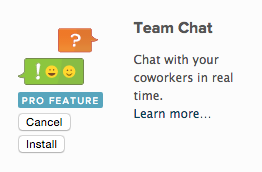
Install the Chat App
Team Chat lets you quickly make decisions together with your teams in real time from your phone or computer.
Log into your Planio account and select the project for which you want to enable team chat.
Go to Apps in the navigation bar and make sure Team Chat is installed. It’s an optional extra, so you might have to upgrade to use it.
Install the Chat App
Once installed, you’ll see a chat tab in the bottom-right of the screen. You can start chatting here. [point about rich links in the browser chat window]

You can use chat from within Planio
You'll also find Chat Logs in the navigation bar. Click on it, and you’ll see a history of all chat messages. On the right, you’ll see a sidebar with chat credentials. You’ll have to enter your account password to see the Server password.
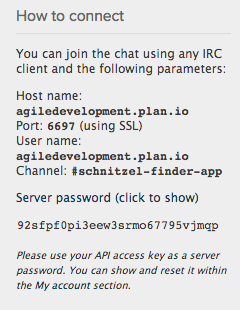
You'll find your chat credentials in this sidebar
You’ll need these credentials to set up chat on mobile devices and desktop IRC clients.
Let’s install chat on your iPhone so you can chat with your team members and get notifications on the go.
Open the app store and search for the Colloquy app. The app costs 1.99. Install the app and open it.

Install Colloquy
Select Add an IRC connection.

Add an IRC connection
Now, we'll fill out the connection fields:
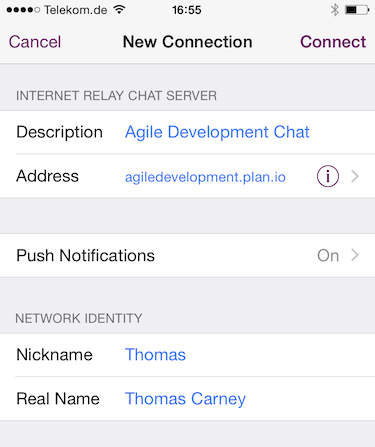
Fill out the connection fields
Scroll down and select Advanced

Select Advanced
Here's we'll fill out the connection and authentication settings with our Planio chat credentials (see above):
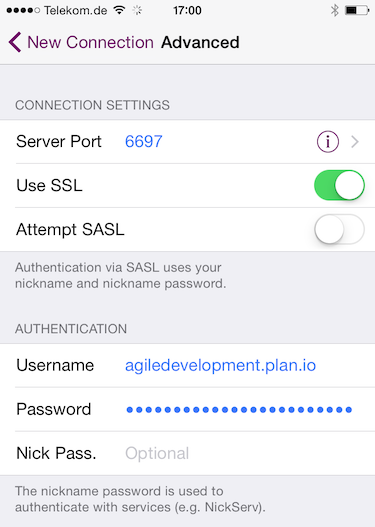
Fill out the connection and authentication settings
Click back to New Connection and then click on Connect.
You can enter the room and start chatting on your iPhone.
Let’s install chat on your Android phone. We'll use AndroIRC in this tutorial.
You can install AndroIRC from Google Play Store.
Once you've installed the app, click on the settings icon and select settings.
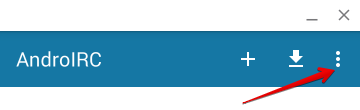
Select Settings
Select Servers and then again select settings and select New server.
Here's we'll fill out the connection and authentication settings with our Planio chat credentials (see above):
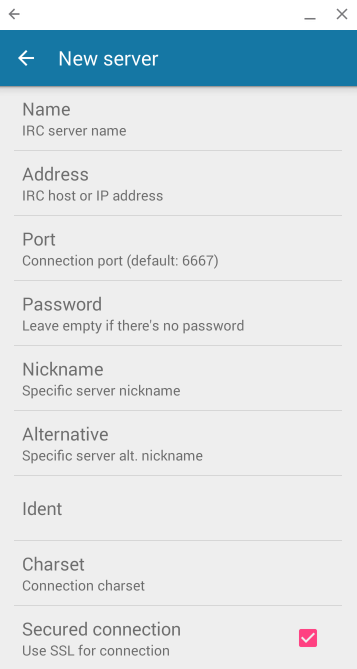
Fill out the fields with your chat credentials
Go back to the home screen and select the Plus sign to add your new server. Select it from the list and connect. You'll automatically join the chat room.
Download and install Colloquy from the Colloquy downloads page.
Open up Colloquy. It will prompt you to create a new connection. If not, you can select File -> New Connection.
Select the Details button and enter your credentials. You'll find these credentials on in your Planio project in Chat logs.

Enter your chat credentials
Click Connect and you’ll be automatically joined to your project chat room.
Download and install Pidgin for Windows.
Click on the Add button on the welcome screen to add a new account.
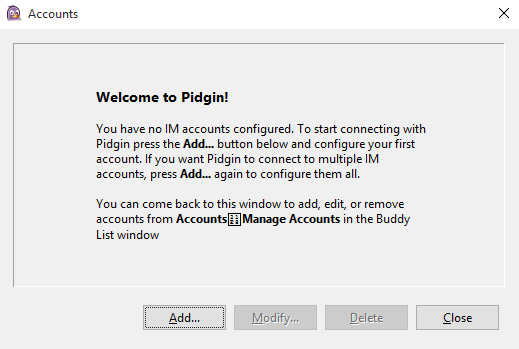
Click 'Add'
In the basic tab:
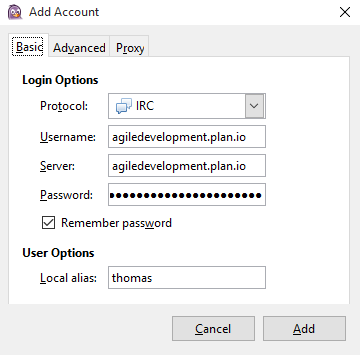
Fill out the basic tab
In the Advanced tab:
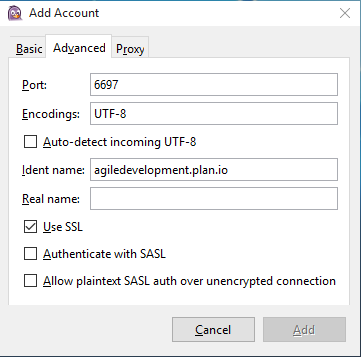
Fill out the advanced tab
Click on 'Add' and you'll be automatically connected to the project chatroom.