Set up Your CRM and Helpdesk App » History » Revision 2
« Previous |
Revision 2/7
(diff)
| Next »
Ema Raven, 04/03/2024 11:46 AM
Set up your Help Desk App in 8 minutes
Planio Help Desk will help you provide better customer service. It brings all your customer interactions into one place, so you'll keep an overview on all support questions.
- Table of contents
- Set up your Help Desk App in 8 minutes
What can Planio Help Desk do for you?
- You can work on customer questions at one central location, so your entire team can work together to give answers to customers’ questions.
- You’ll be able to answer customers faster, thanks to templated responses to commonly asked questions, auto-replies and automatic personalization.
- You can ensure that customers always get consistent answers to the same questions.
- You can reduce the amount of support emails using FAQs
- Customers will be happier because they’ll be able to track the progress of their issues.
- It's tightly integrated with email, so your customers can use email to talk with you, but every email appears as an issue in Planio.
- Best of all, your support team can work with customers from anywhere in the world.
Create a project for Help Desk
Sign into your Planio account and create a project for customer support.
We recommend that you create a project just for customer support. If you provide support in several languages, it's best to create a separate project for each language.
Activate the Help Desk App
Go to Apps tab and install the Help Desk app if it isn’t already installed.
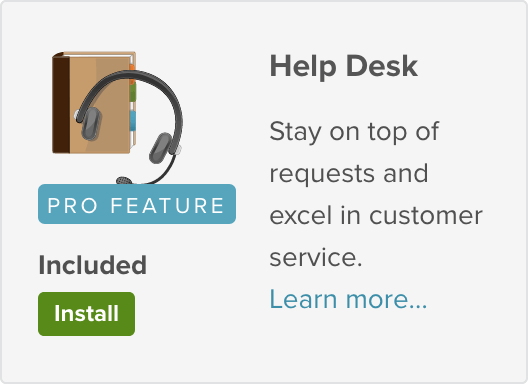
Once the Help Desk App is installed, we need to set up the support email address.
Go to the Settings tab, and click on Inbox. When you follow Add email address you can enter your support email address in the Address field. It can be any email address you own. For example, at Planio we use support (at) plan.io.
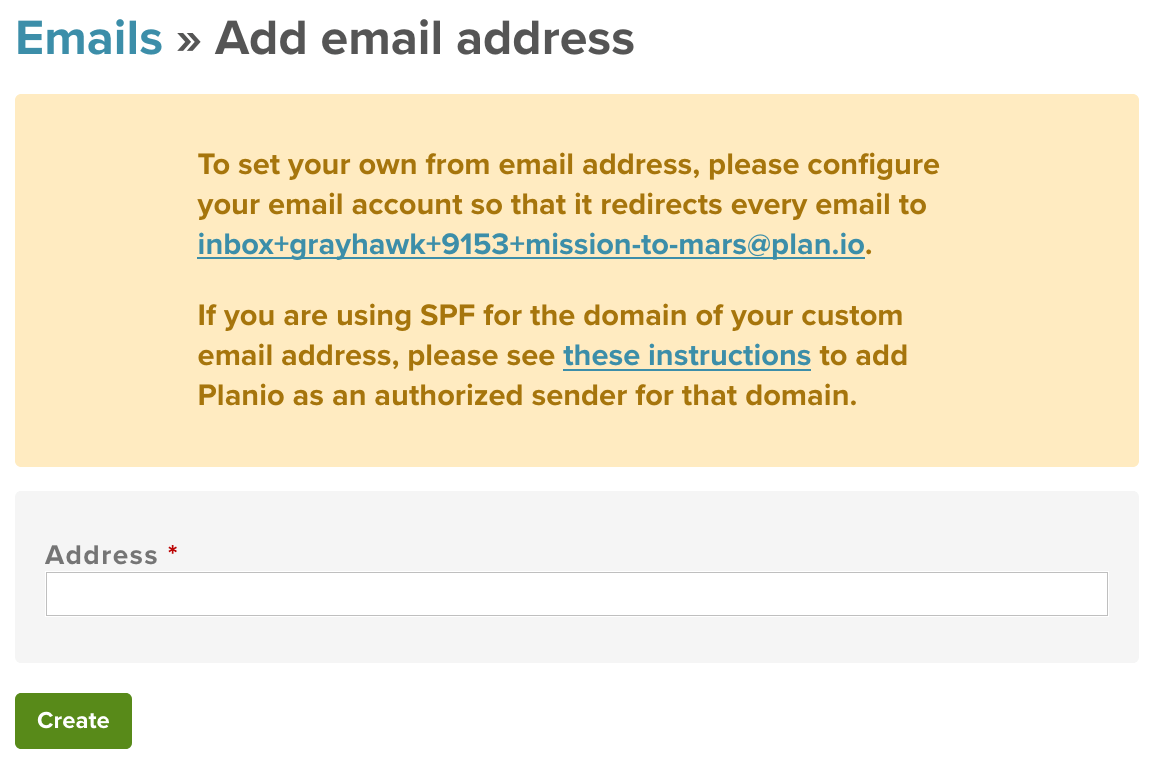
Now, you have to set up email forwarding for this address. Any emails sent to the address in this box need to forward to the unique Planio Inbox email address, which you'll see just below the "From email address" field.
Here are links to tutorials on how to do this for GSuite (formerly Google Apps) and some of the big domain registrars such as Godaddy or ENOM:
It can take a few minutes once you’ve set up the email forwarding before it's active.
Finally, after the forwarding was confirmed successfully, you may activate your new address for use in Help Desk.

Send an email to the support email address
Now, you can send an email to the support email address, and it will show up as an issue in the support project.

You can see the issue by clicking on the Issues tab. The subject line is set as the subject, and the body of the email is set as the description.
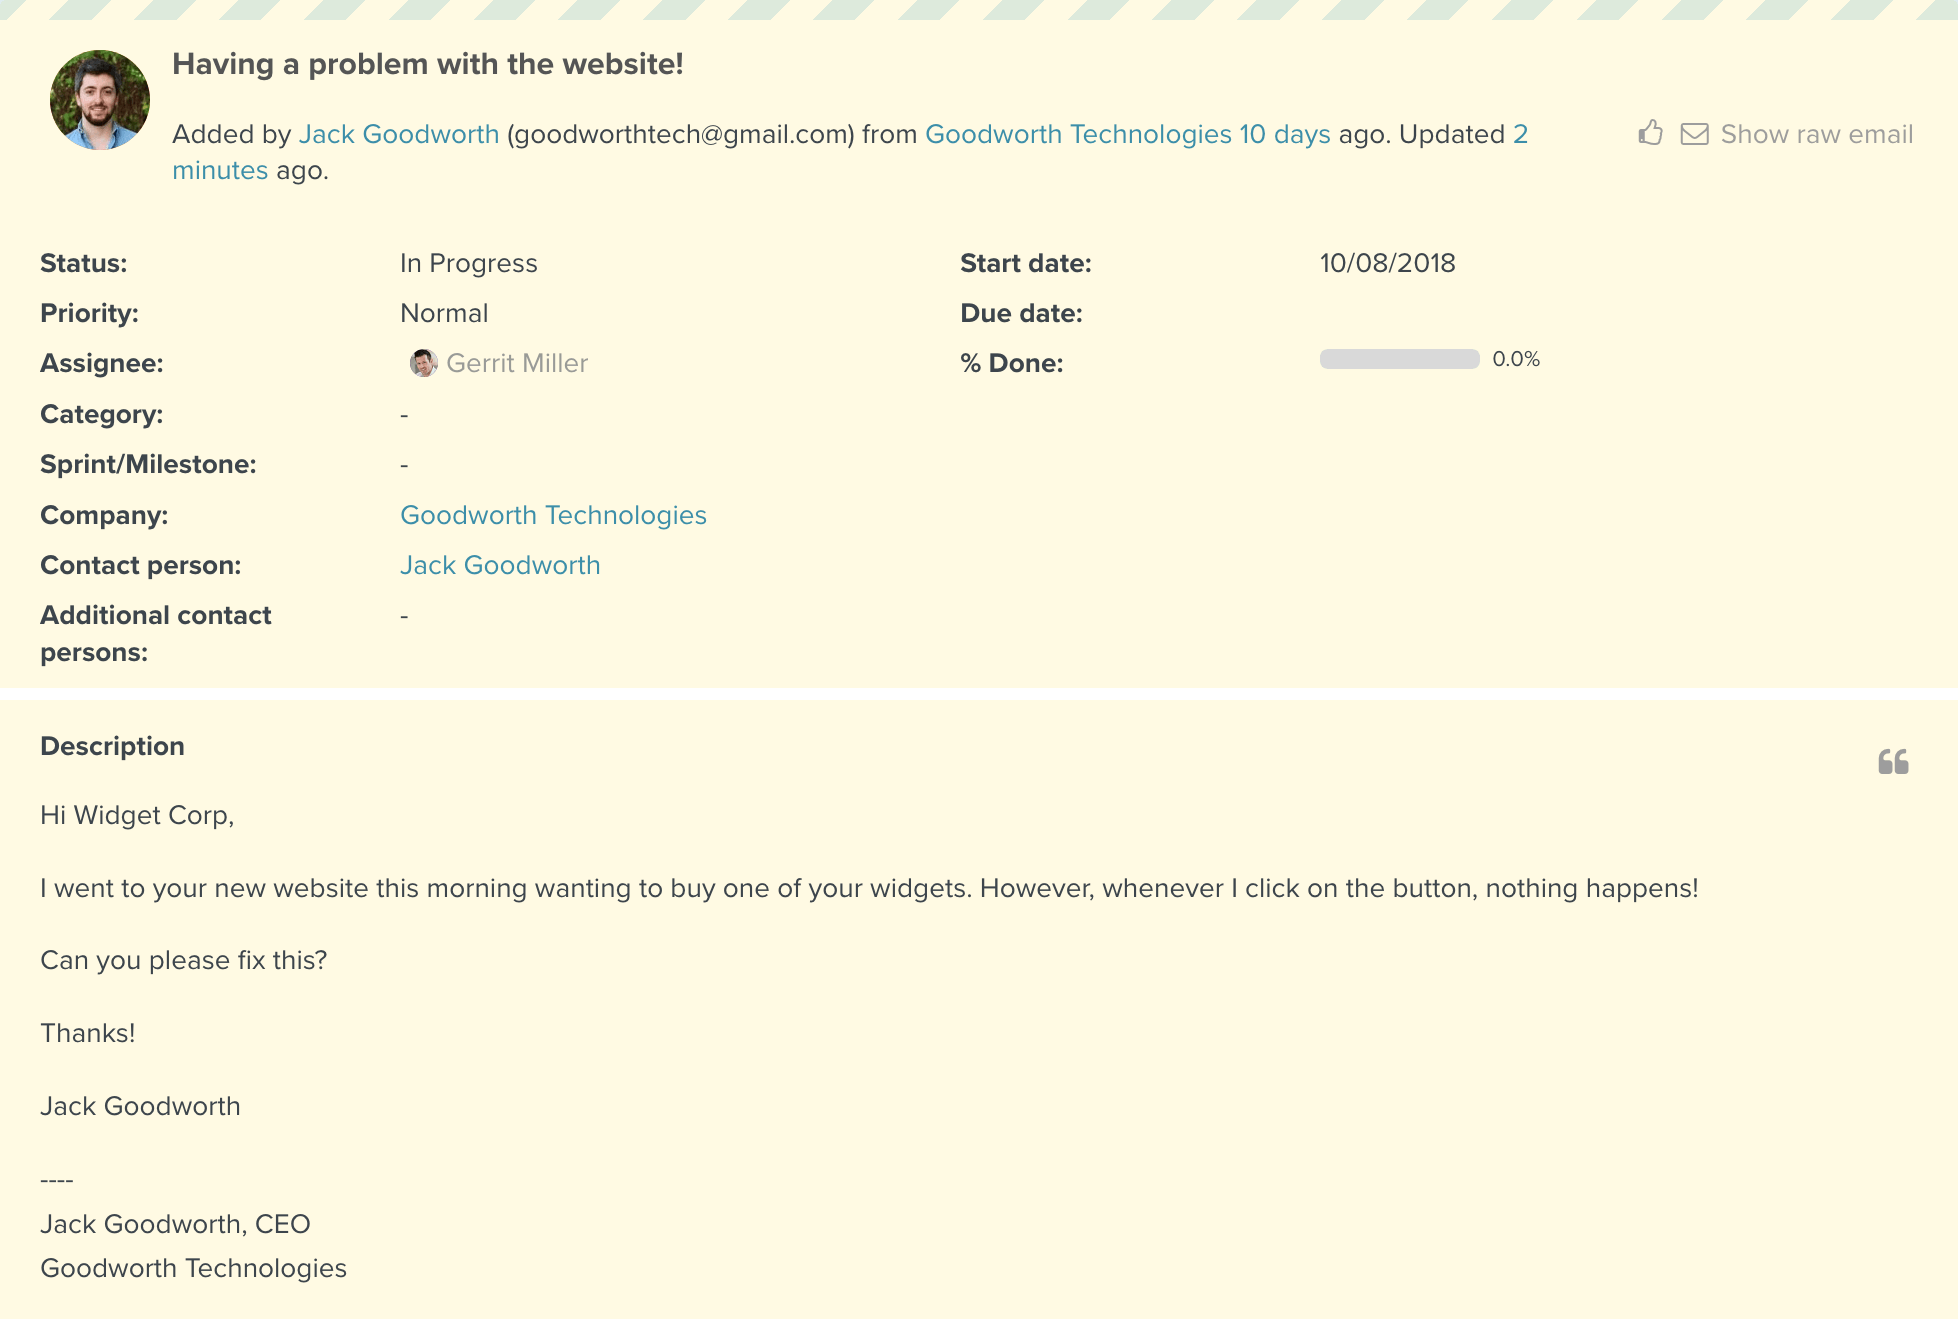
If customers use an email address that isn’t saved in Planio, that email address will be added as a new customer in the Contacts tab, so you’ll be able to track all correspondence with that person. This means you can manage all customer relations from within Planio automatically.
Planio also sends an automatic email confirming receipt of the email to the customer.
Start replying to customers' emails
Click Edit and scroll down to the Notes section. Select the External notes option, and write your email.
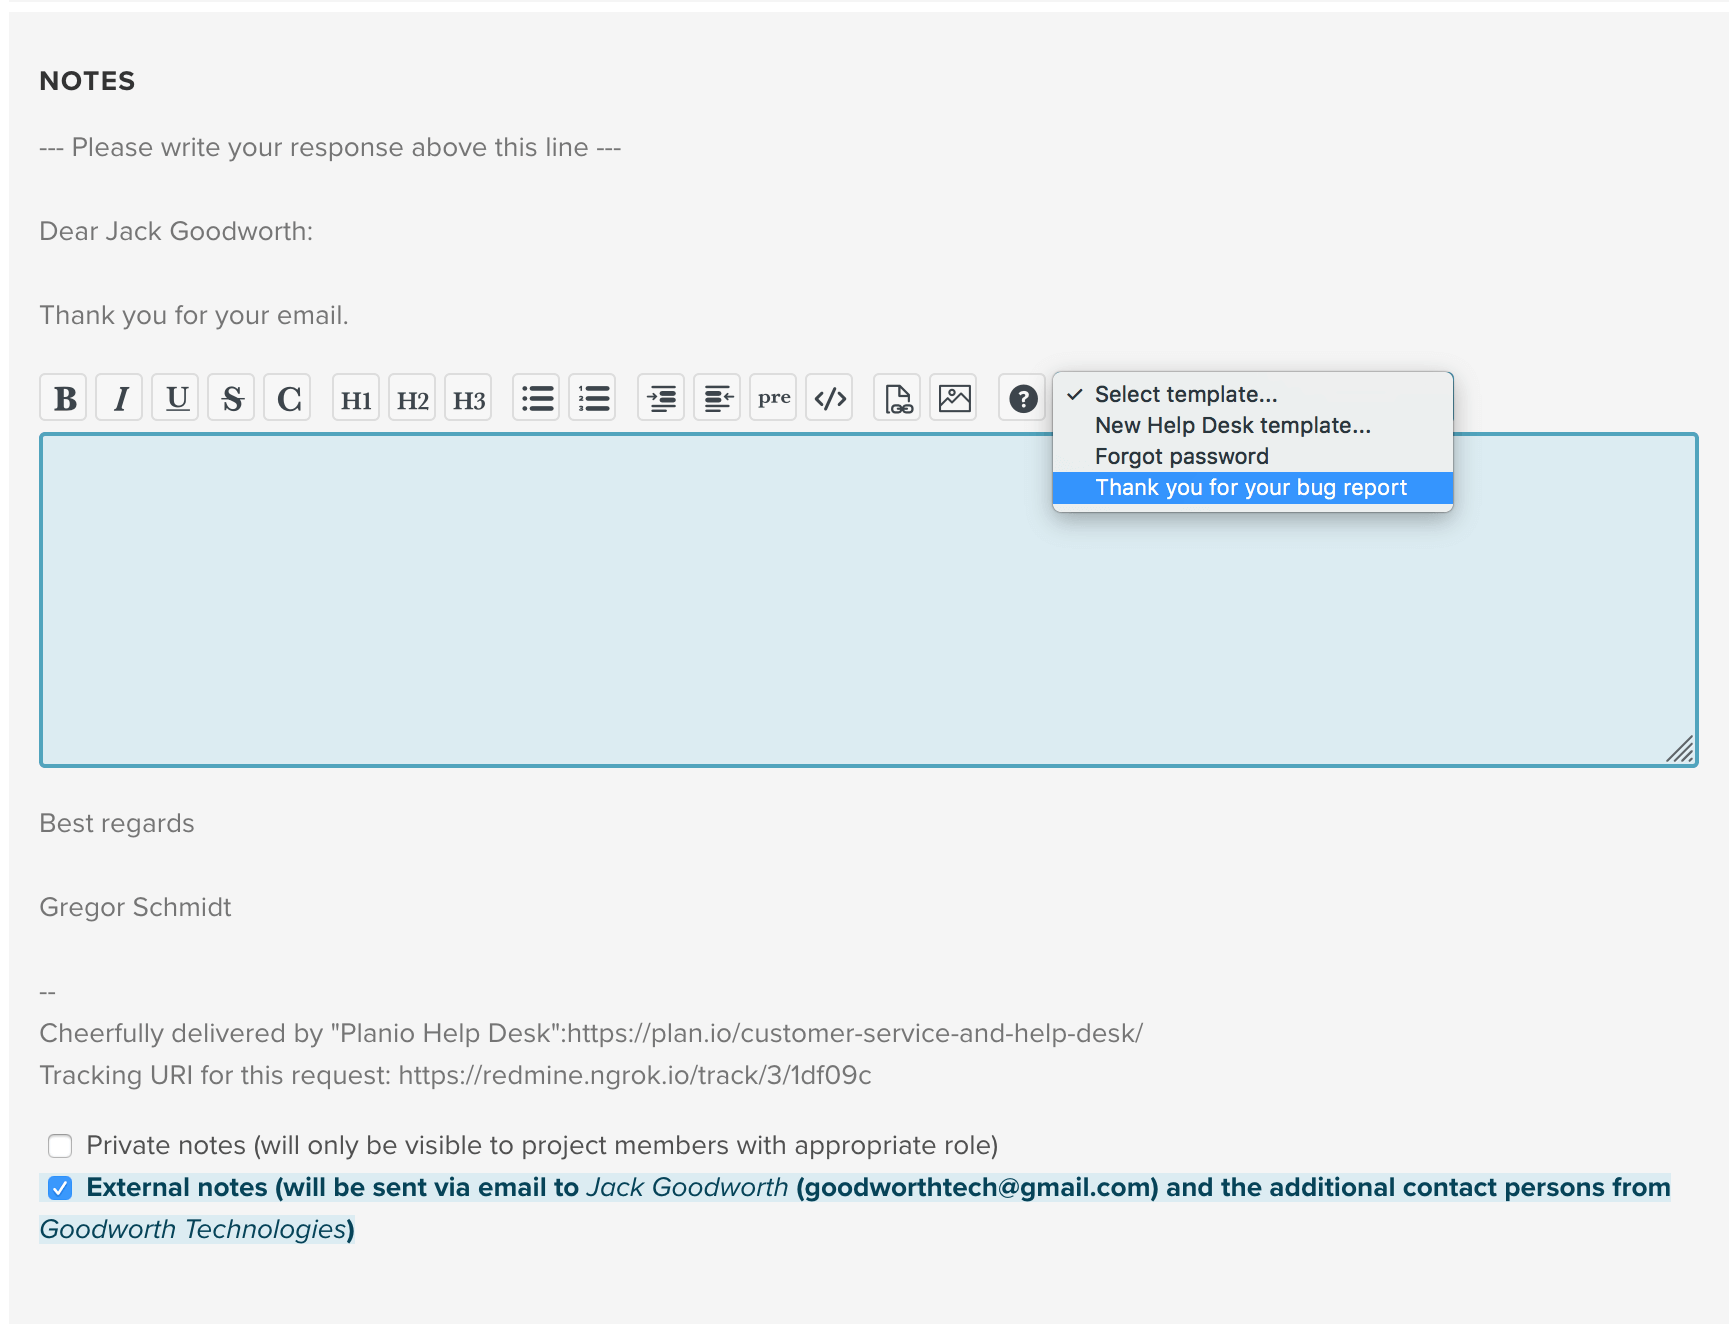
You don’t have to write "Hi Jack" or conclude the email. Those parts are automatically included via header and footer templates. We’ll see how we can update them below.
Click Submit to send the response to the customer.
They’ll receive an email with your message along with a greeting and an email signature. An added bonus is that your customer will have a tracking link, so they can track the progress of the request. This is particularly useful if the issue can’t be resolved right away. For instance, you could keep them updated, and they can see the various updates all on one page.
Give your emails your own touch and save time with templates
Now, let’s dive into the more advanced features of the Planio Help Desk.
Click on the Settings tab and then on the Help Desk tab.
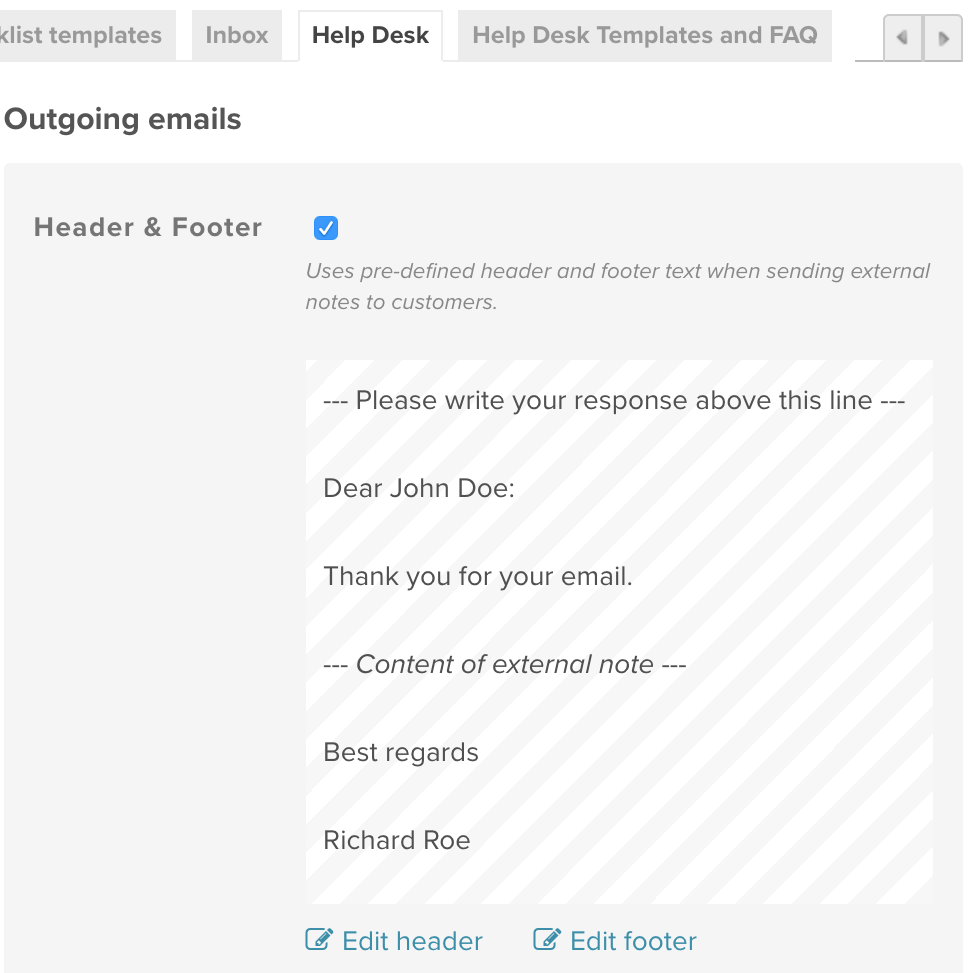
You’ll see the Outgoing emails section on the right. Here, you can update the existing templates for the header and footer. For example, let’s update the footer. Click on Edit footer below it.
You’ll see “Best regards”, and the current_user.name inside of curly brackets.
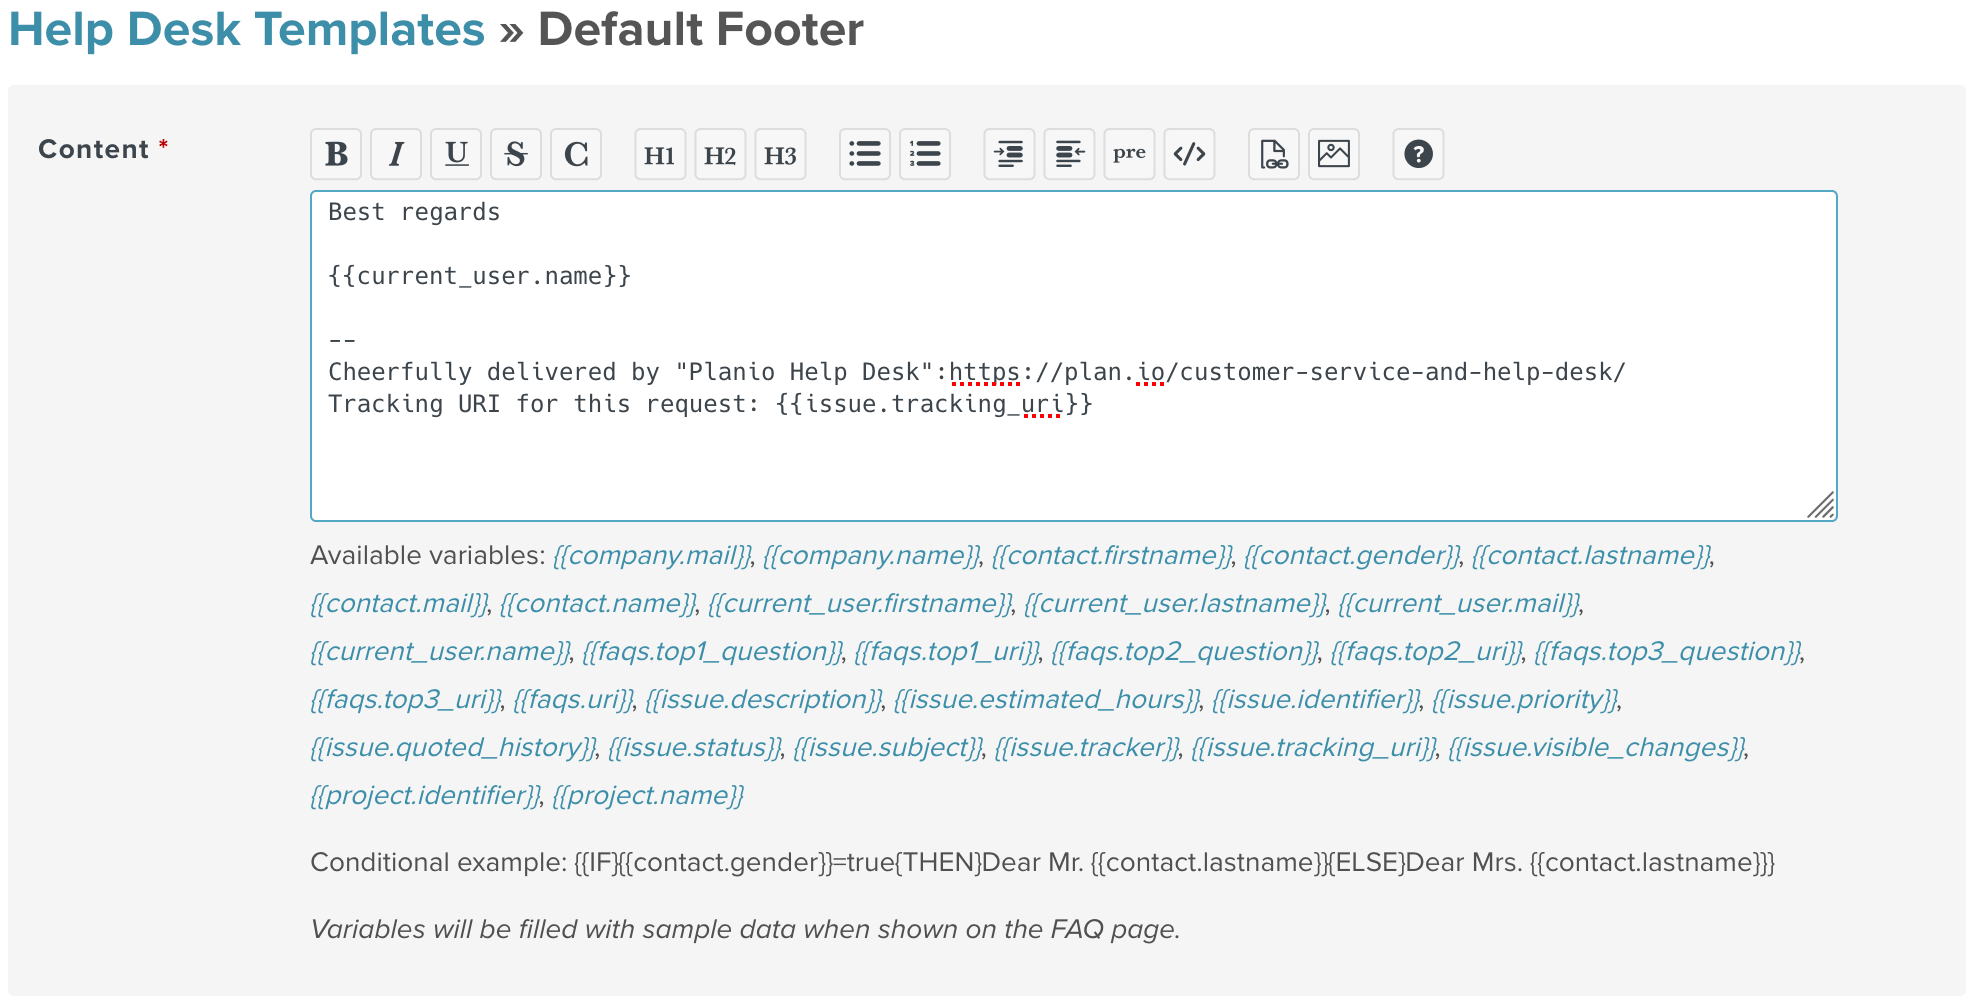
This means that the name here will depend on the person answering. You can make any changes you want to the text, and there is a list of variables you can choose from. For example, you could put the project name after the name. You can also use the variables {{faqs.top1_question}}, {{faqs.top1_uri}}, and so on to include links to the most commonly asked questions.
You can also create answer templates to frequently asked questions. You'll be able to access these templates in a dropdown menu when you're replying to customers in the issues section. These will appear in a dropdown menu when you’re replying to customer emails.
Start an FAQ section, so customers can find answers, faster
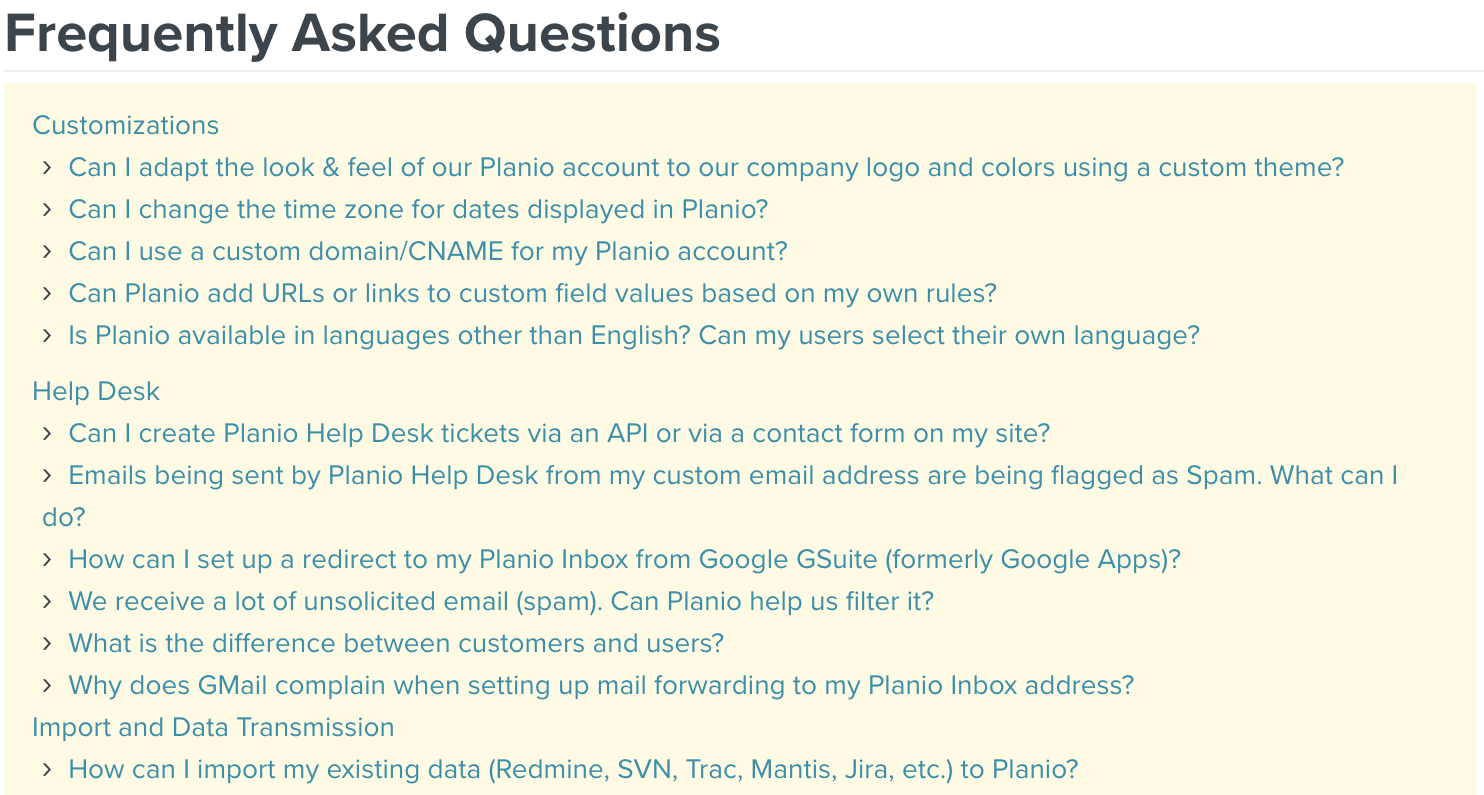
Within the Help Desk templates and FAQs project settings, you may create and edit internal templates as well as publicly visible FAQ entries. With their help your customers can quickly find answers to commonly asked questions themselves. You can also include a link to your top most commonly asked questions in the email sent automatically when customers submit a support request.
.
Updated by Ema Raven 11 months ago · 2 revisions